Build Your Perfect Simracing Rig For Under 300€
Do you want to build your own driving simulator, but can’t decide between premade and DIY structural rack constructions? We think the latter is almost always better! This guide shows you exactly what you need to buy, what to consider, and how to assemble your new rig.
DIY vs Premade Rigs
In our opinion, a good rig should:
- Not lock you into an ecosystem, and instead support mounting hardware from as many brands as possible.
- Offer basic ergonomy features like a heel rest, as well as reasonable seat height for easy ingress and egress.
- Make ergonomy adjustments easy so you don’t hurt yourself because you’re too lazy to fix a compromised seating position. Longitudinal distance between seat/wheel/pedals, transverse distance between pedals, and steering wheel height and angle would be examples.
- Be perfectly rigid so you never have to replace it, no matter the FFB strength or braking forces supported by your new gear.
- Be extendable so you never have to replace it, but can simply add parts, no matter if you’re getting a shifter, handbrake, button box, or anything else.
- Offer easy solutions for little issues you might not think about now, but will notice down the line. For example, being able to more easily reach your PC peripherals while driving, or reducing noise due to vibrations from your wheelbase that your neighbours are complaining about.
Based on this, we believe that any rig not based on standardised aluminium extrusions is a tough sell. 8mm or 10mm wide slottings in 40×40 and 80×40 profiles are simply the most customisable base setup. A rigid rig should use 80x40s instead of 40x40s in places where there’s significant load that would bend the profile and cause noticeable deflection. In places where extrusions are under longitudinal tensile load only, 40x40s are almost always completely fine.
The cheapest premade rigs that offer all of this start at around 450€ including delivery, excluding a seat and some things not everyone might need, like a screen holder. We can do the same for 275€ including delivery.
The Setup
Here’s the optimised base rig that we’ll be building. The main ground frame is spaced transversely to exactly accomodate the mounting pattern of the pedal base plate we’re using. Even the seat can be mounted to this same frame, as we’ll explain later! This means that we’re saving a bunch of profiles and angles, and therefore cost. The basic setup consists of the following:
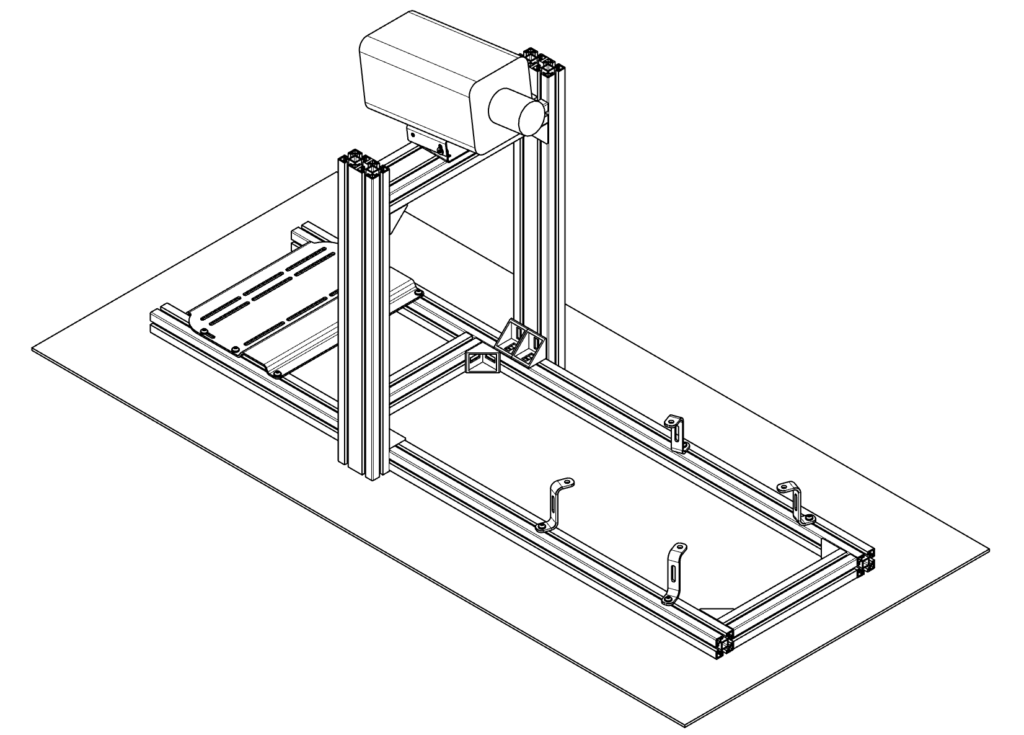
- Our pedal base plate, wheelbase adapter bracket, seat mounting adapters
- 2x 1300mm 40×40 main longitudinal bottom extrusions
- 2x 284mm 40×40 transverse bottom extrusions
- 2x 600mm 80×40 upright wheel stand extrusion
- 1x 364mm 80×40 transverse top wheel stand extrusion
- 12x 40×40 angles without fastening hardware(, but optionally get caps for a cleaner look)
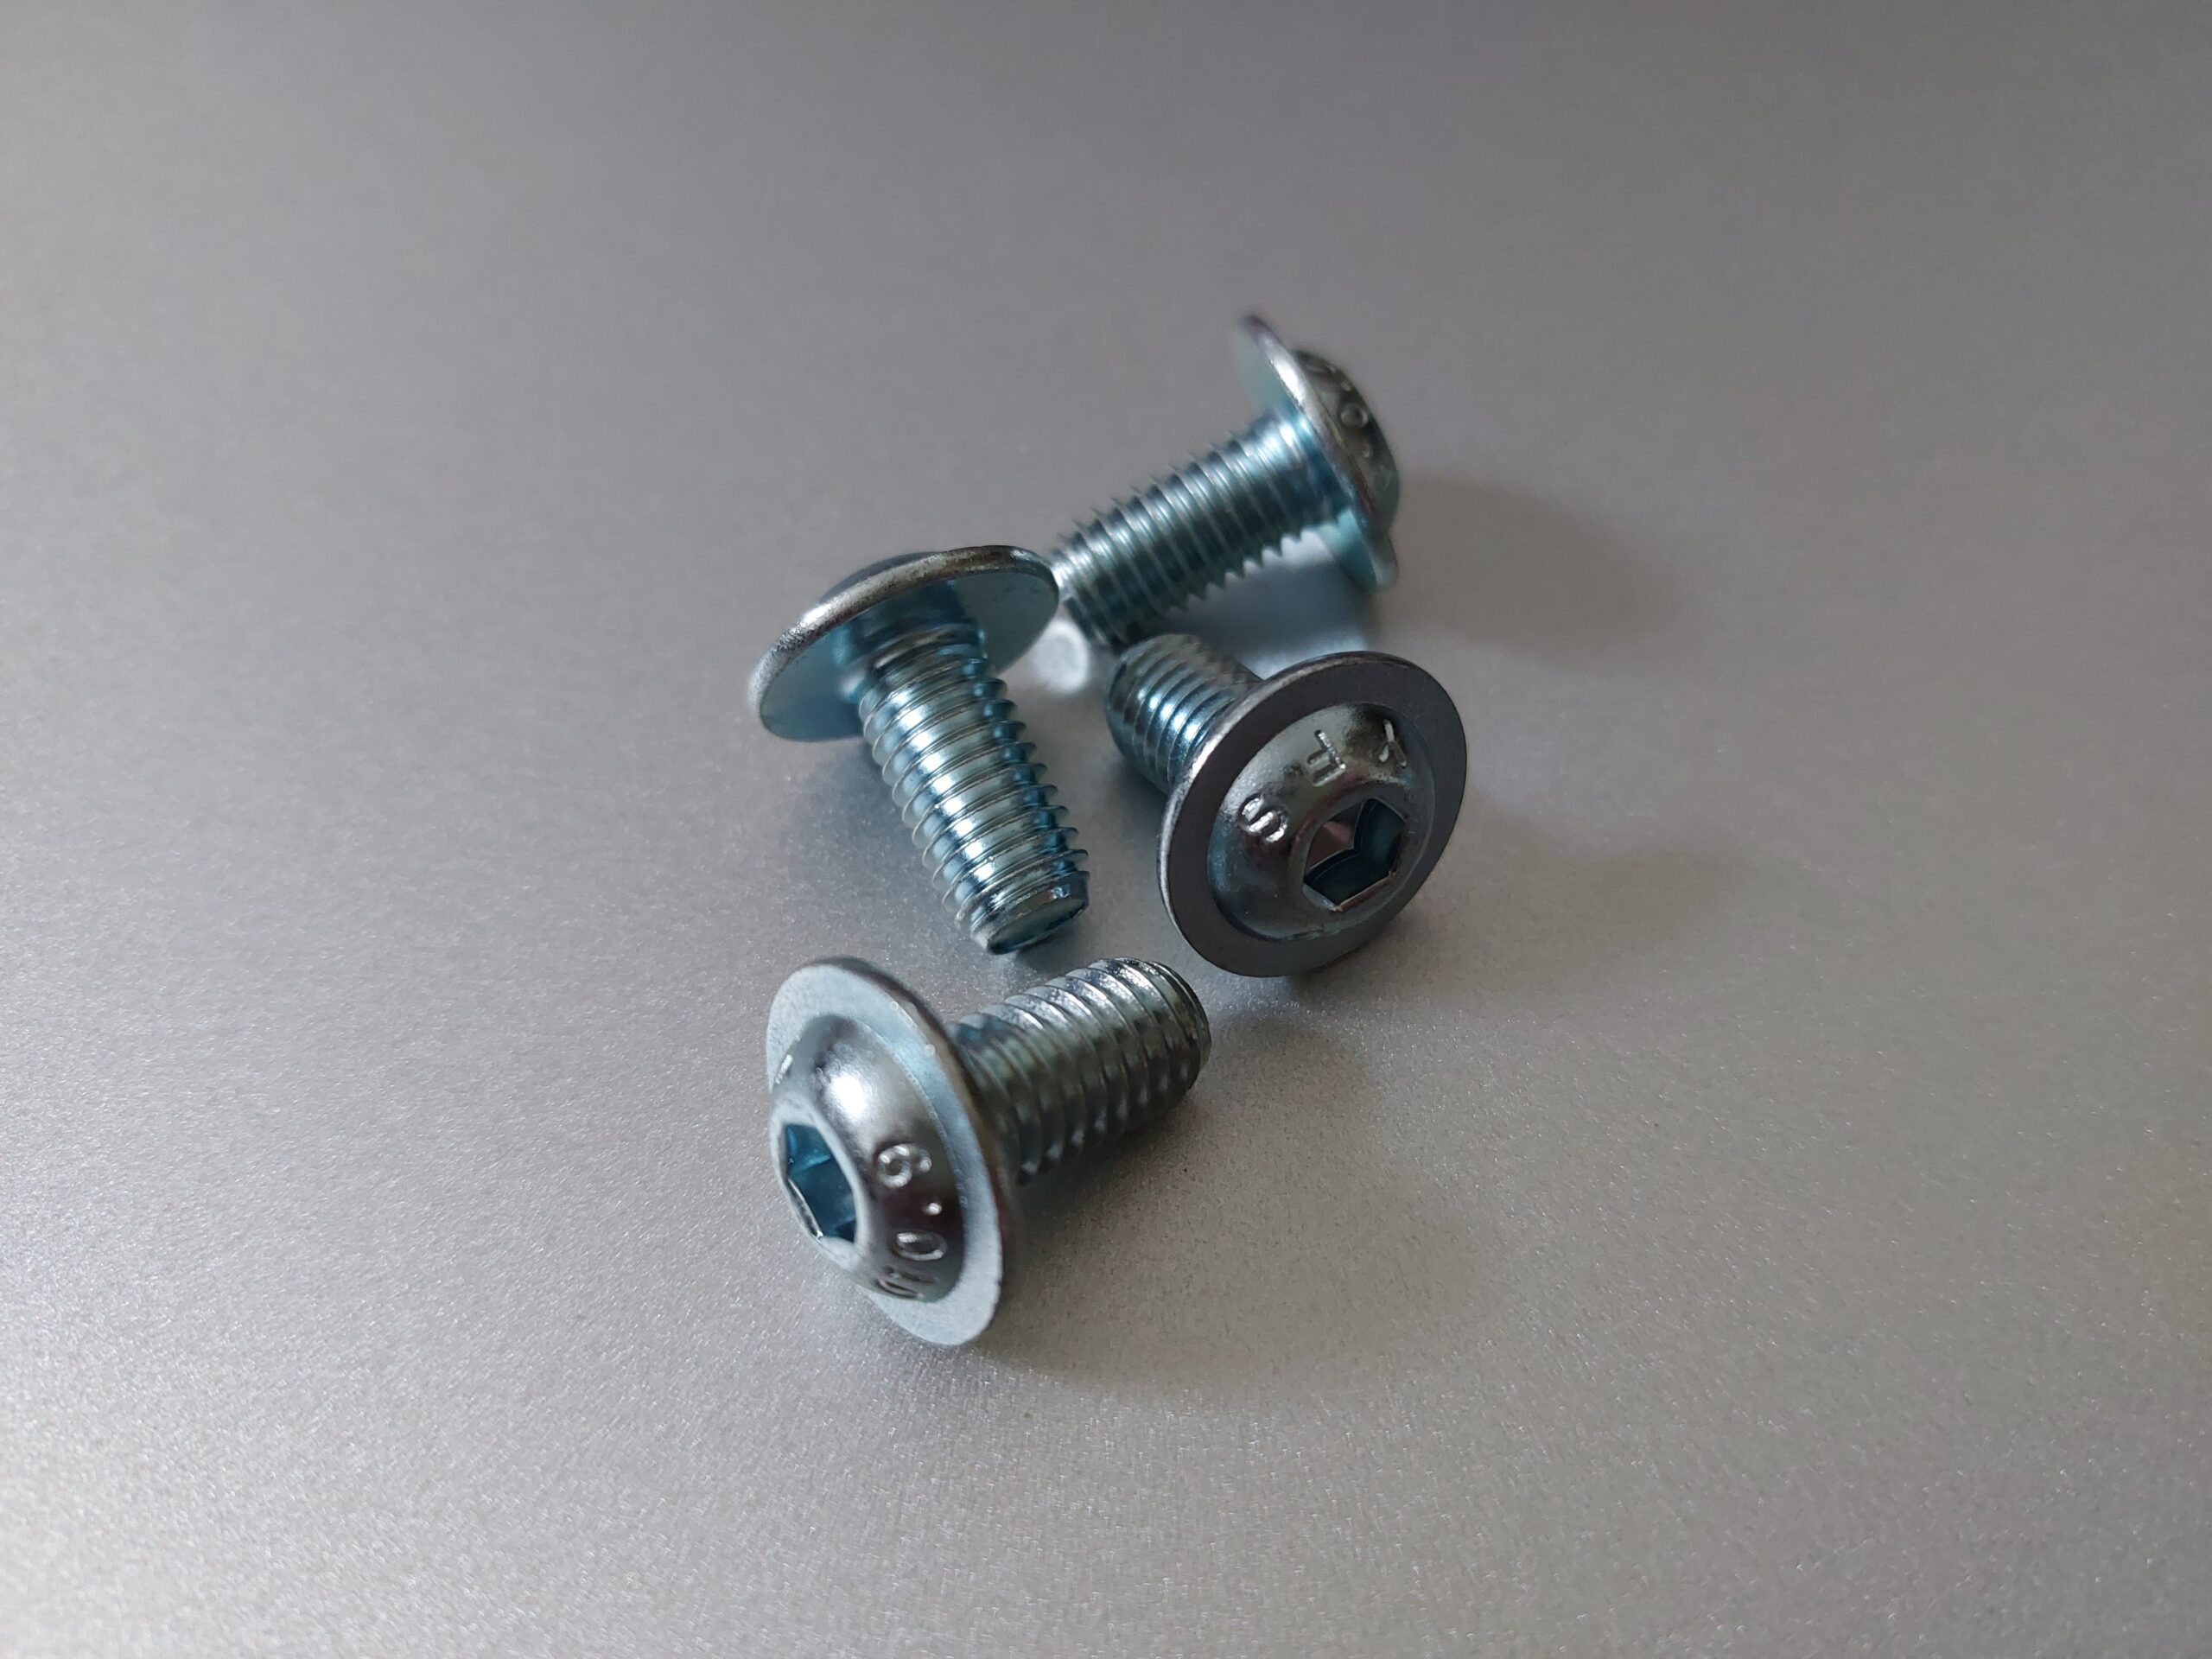
- Two M8 screws per angle, in this case 24
- 14x M6 T-nuts for your size of profile slotting
- 24x M8 T-nuts for your size of profile slotting
- 4x 40×40 caps
- 2x 80×40 caps
Our products are 134€ subtotal incl. EU delivery. As of September 2026, profiles, angles, T-nuts and caps start at 139€ subtotal incl. EU delivery at the cheapest online shop we could find. The total is only 273€ for the basic variant.
- You can use either B-Type (Bosch Rexroth) with 10mm wide slottings, or I-type (Item) profiles with 8mm wide slottings for this. The Bosch profiles are slightly stronger, but slightly more expensive. Both types are more than strong enough. Make sure you stick with one type of profile, and buy the correct T-nuts.
- The ground frame consisting of ‘only’ 40×40 extrusions is more than sufficient. All it has to do is handle the braking force pulling alongside the main profiles, as both the pedal plate, and the seat are connected directly to it. It doesn’t get sheared or bent by anything that would warrant an 80×40 frame. A bonus: The rig is relatively quiet because there are no loaded angle-screw-connections that could squeak when you brake hard.
- This is the narrowest possible ground frame design that allows mounting typical hardware together with the other components used. Aside from the obvious advantages if you’re tight on space, it also means there’s minimal risk of stubbing your toes. We just need some overhang in the back so you don’t flip over if you lean the back of your seat very far rearwards.
- For ~10€ more: An additional 300-400mm 80×40 extrusion and two 40×40 angles to connect to the upright 600mm 80×40, facing forward. You could mount a shifter and/or a handbrake to this.
- For ~20€ more: 6 Separate feet with 6 additional M8 T-nuts to lift the rig higher, in case you’re worried about trouble getting in and out of it. Make sure to actually buy 6 and not just 4 because there should be support in the center left and right of the rig, most importantly directly under the pickup for the 80×40 wheel stand. It prevents that portion of the main ground frame from bending downwards, which, due to the leverage, would cause noticeable movement of your wheelbase.
- or instead, for ~15€ more: A couple meters of 30-40mm wide, sticky EPDM sealing tape. Stick it onto the bottom surfaces of the ground extrusions as a cheap way to prevent unintentional sliding and reduce noise. Make sure to cover as much as possible of the bottom surface of the extrusions. EPDM sealing tape is usually pretty soft; if the full weight of the rig and driver is distributed onto too little EPDM surface, it will give out.
- For ~25€ more: 2x 100mm 80×40 extrusions and 4 more angles, plus a 160-200mm longer transverse top wheel stand extrusion. Connect the 100mm profiles on the outsides of the ground frame, and then connect the 600mm upright wheel stand extrusions, to give yourself more legroom in width. Additionally, this also eliminates any risk of the rig falling over if you lean very far out the side of it. We haven’t managed to flip our rigs yet, even without adding this. 🙂
Do you already have a pedal base plate, or are using a pedal set that has an integrated base? Consider the following:
Skip on our pedal base plate, saving you another 49€ and bringing the total down to 224€. Instead, adjust the size of the transverse extrusions of the list above to fit the width between the mounting holes of your base plate. As a reference, this is 324mm on our plate, which results in 284mm length for the two 40×40 transverse extrusions, and 364mm length for the 80×40 transverse top wheel stand extrusion.
Then, measure how far apart the mounting holes of your seat are in width, and do the math: Our seat mounting adapters allow for up to 85mm of offset between the slottings of your rig, and the mounting holes of your seat, in each direction. If your seat’s mounting holes are 345mm apart, then our adapters will make it fit with any pedal base with a mounting width between 260mm and 430mm. This should cover most pedalbase-seat-combinations you’ll find, but you should do the math in advance to be safe.
And the seat?
For most people, the best way to acquire a seat is from a scrapyard or second-hand offers for seats from random cars around your area. You might have to give it a good clean, but should find a usable seat for less than 50€ without any issues. You won’t have to spend much more to get a seat in near-perfect condition that is also very comfortable.
If you want something that makes your simulator look like a racing simulator, our suggestion is to look specifically for seats from 2000s affordable/common sports cars, of which a lot have rusted away by now, or have gotten stripped for parts due to other longevity/reliability issues that have nothing to do with the seats. This usually means that there’s much more supply than demand for those seats in particular, and you’ll still spend less money than for an entry-level ‘racing simulator seat’. Depending on where you live, cars to looks out for could be: Nissan 350Z / 370Z, Mazda RX-8, Porsche Boxster, Chevrolet Corvette C5 / C6, seats from various hot hatches, or others.
The Assembly
To start assembling, you need the parts listed above, including whatever additions and changes you’d like. You also need size 3 and 4 hex (“allen”) keys. Use the drawing at the top of this page as a reference.
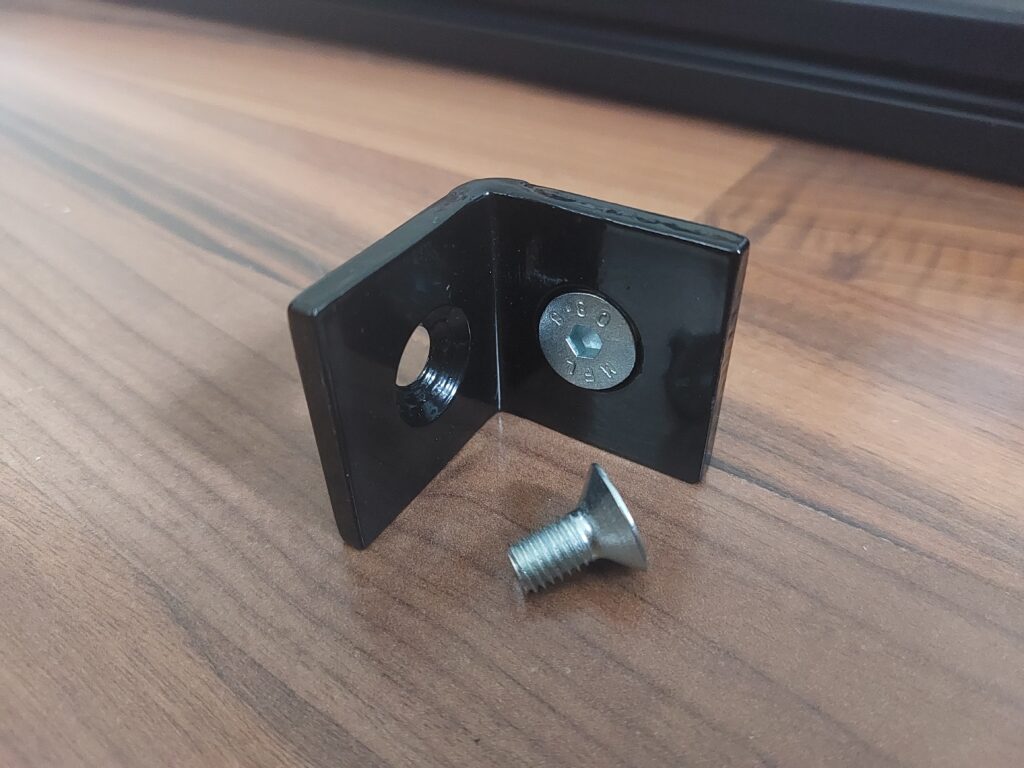
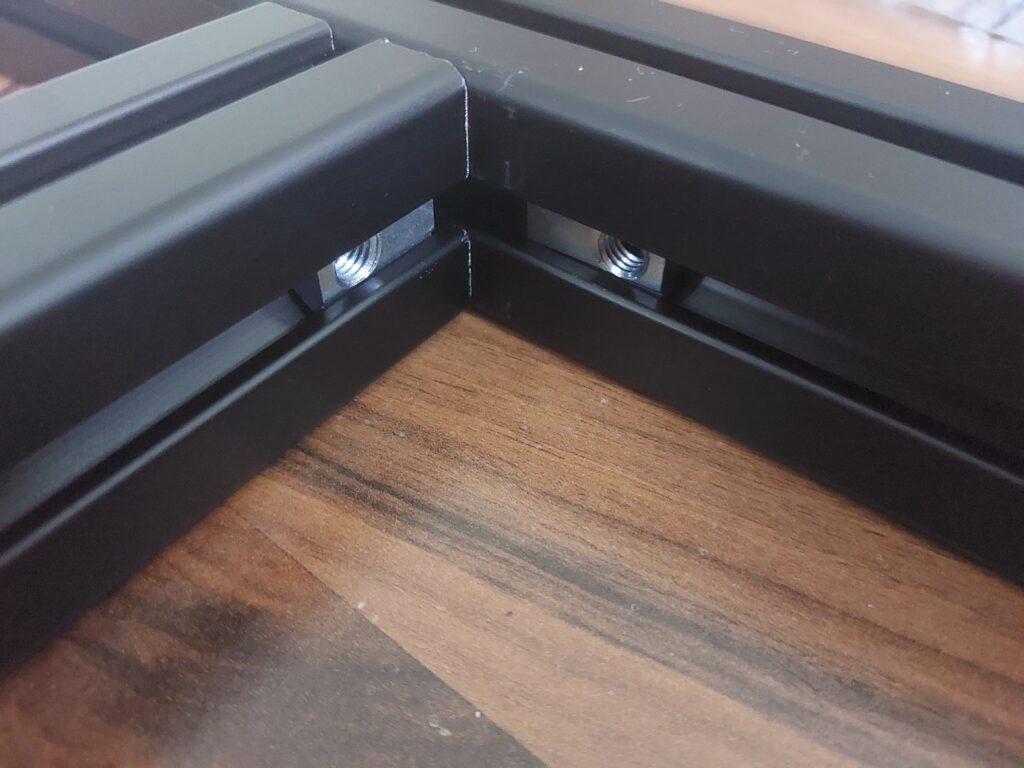
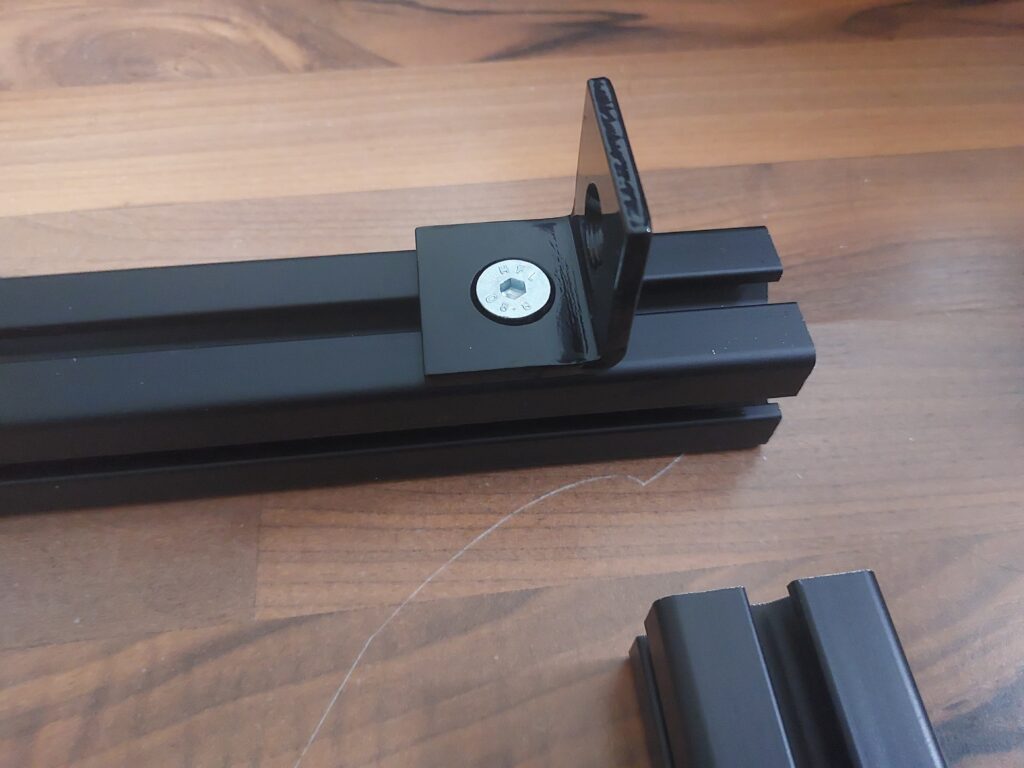
The angles allow us to connect profiles at a 90° angle. Standard Bosch or Item angles look a bit different to the ones we have here, and might not have countersunk holes and therefore require different screws, but apart from that, usage is the same. Slide a T-nut into each profile, then screw into them through the angles.
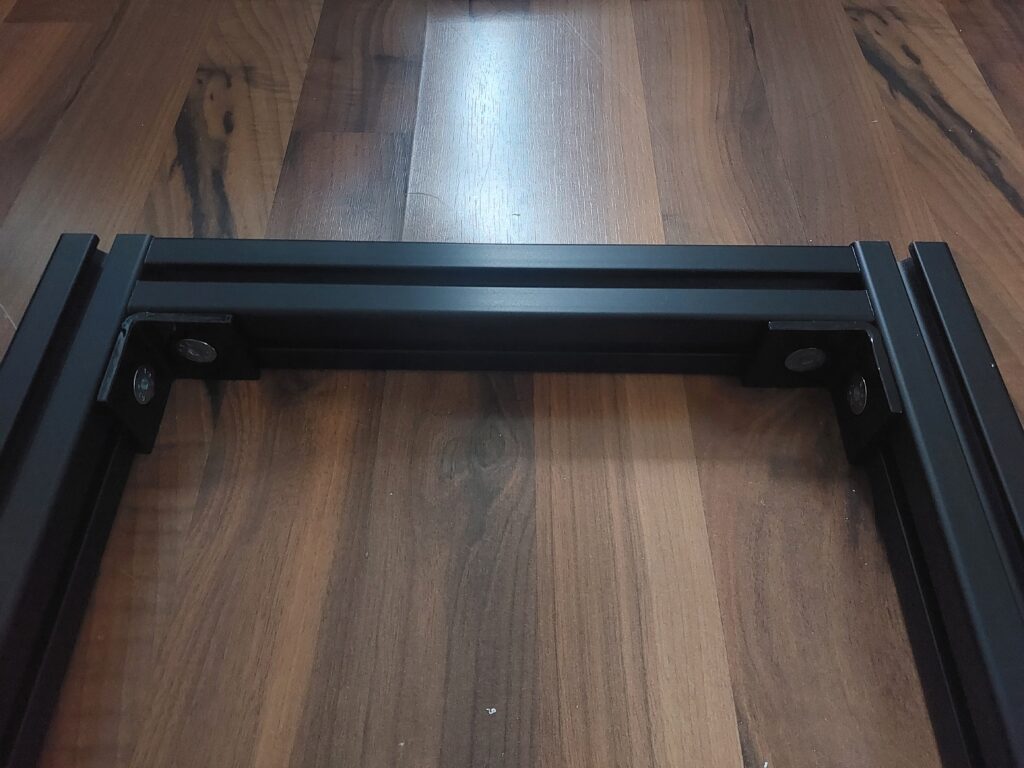
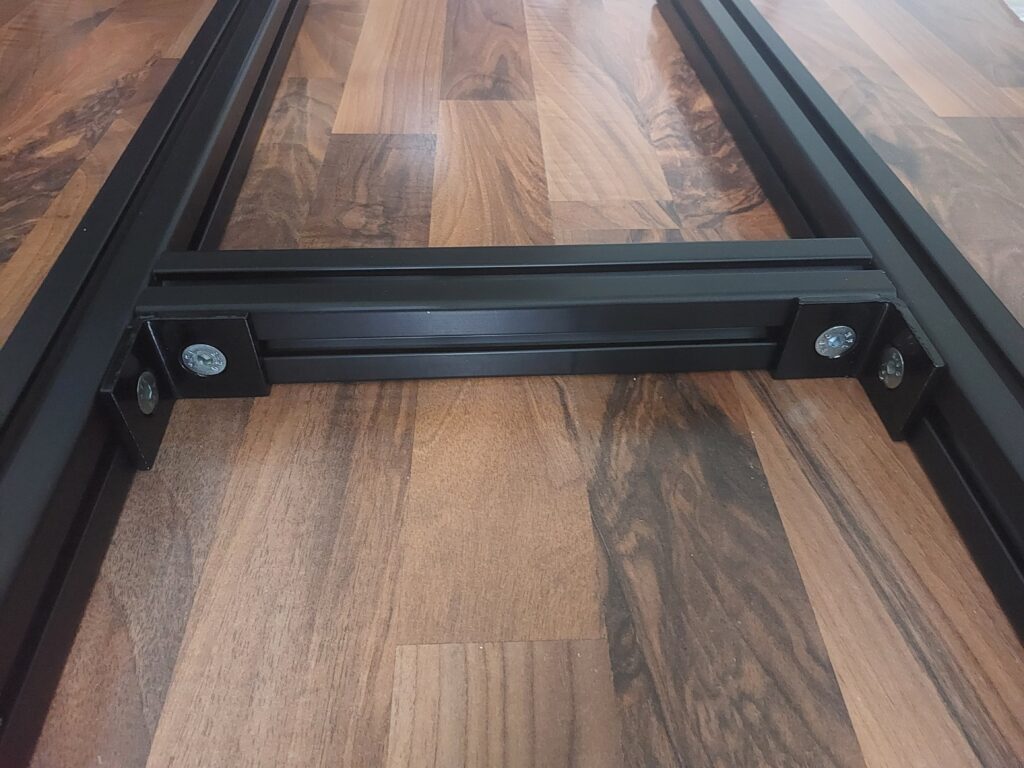
Assemble the main ground frame as shown above. When tightening angles, always ensure that the profiles are pressed fully against each other to minimize play in the fastened connection. Sometimes it’s practical to leave connections slightly loose, then position them against each other properly, and then tightening them.
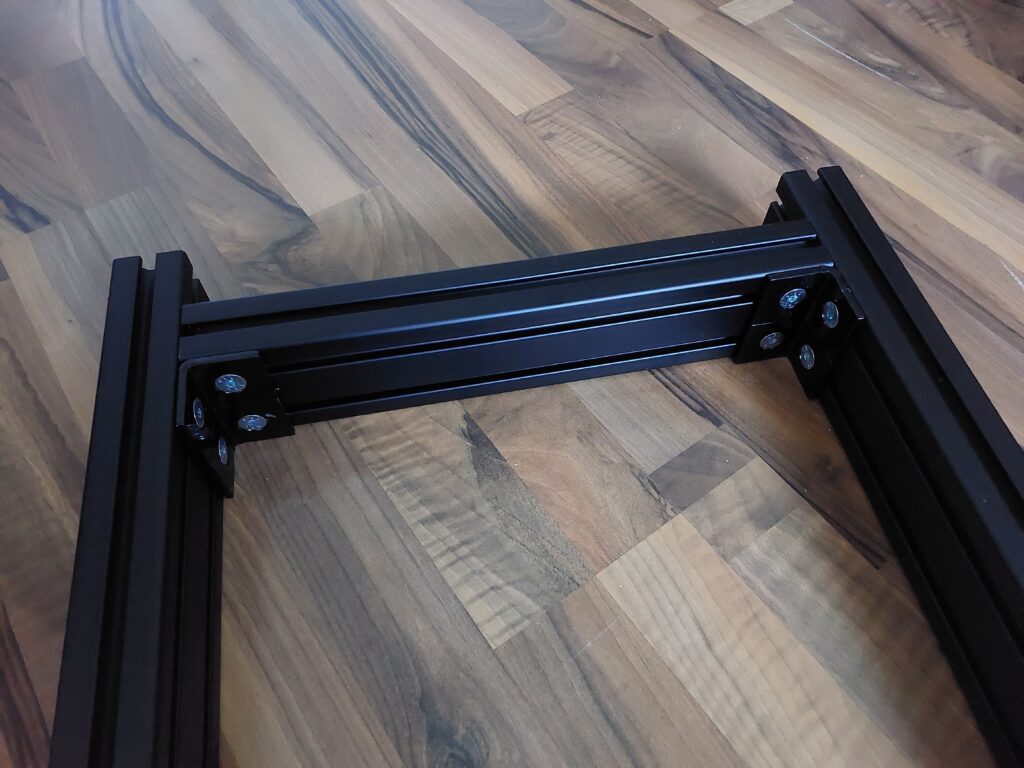
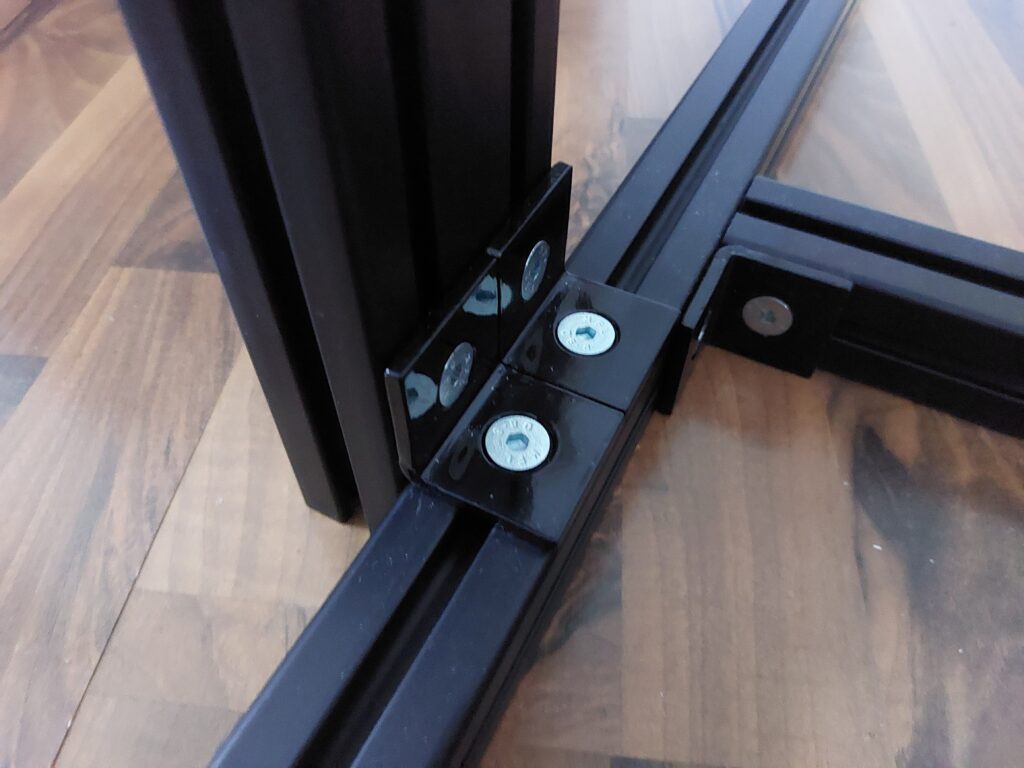
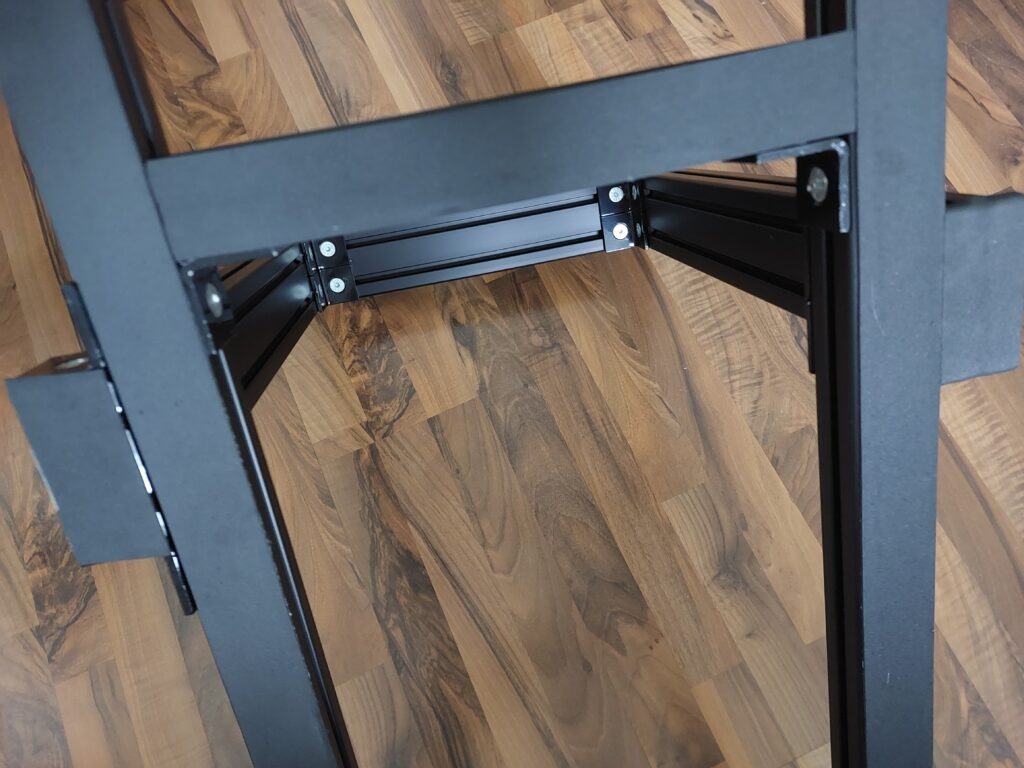
Next, assemble the arch that will hold your wheelbase. Once the three 80x40s are connected to each other, put them over the ground frame and connect them to each other on both sides. If you bought EPDM tape, this is a good opportunity to flip the rig upside down and cover all ground surfaces with EPDM.
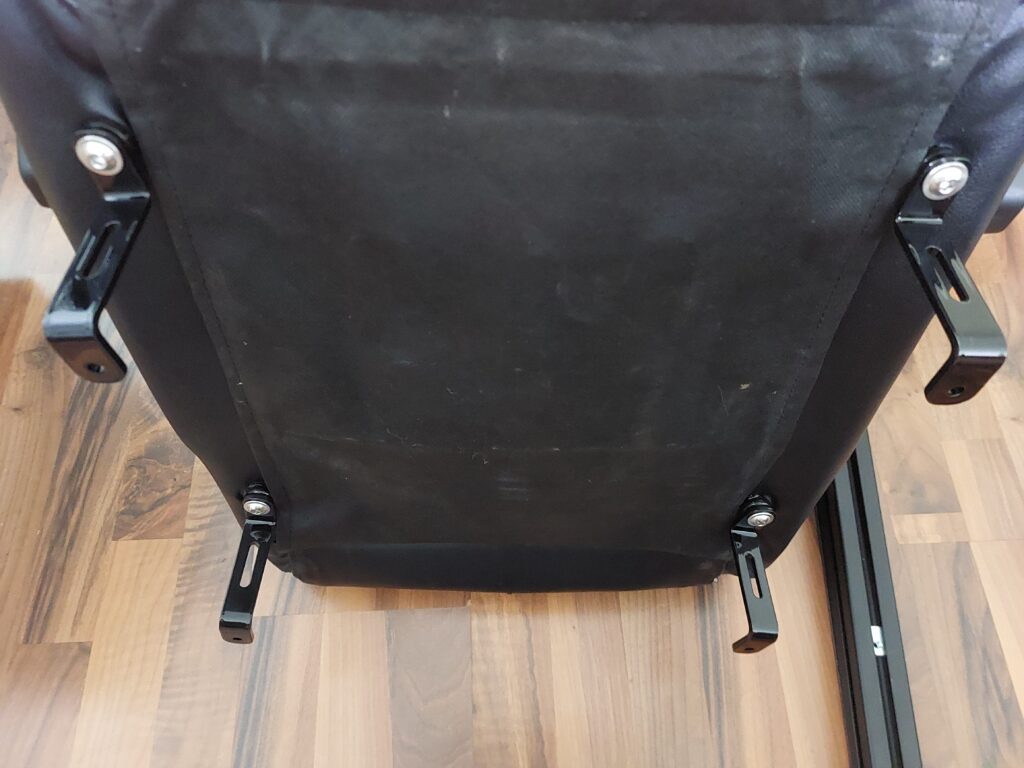
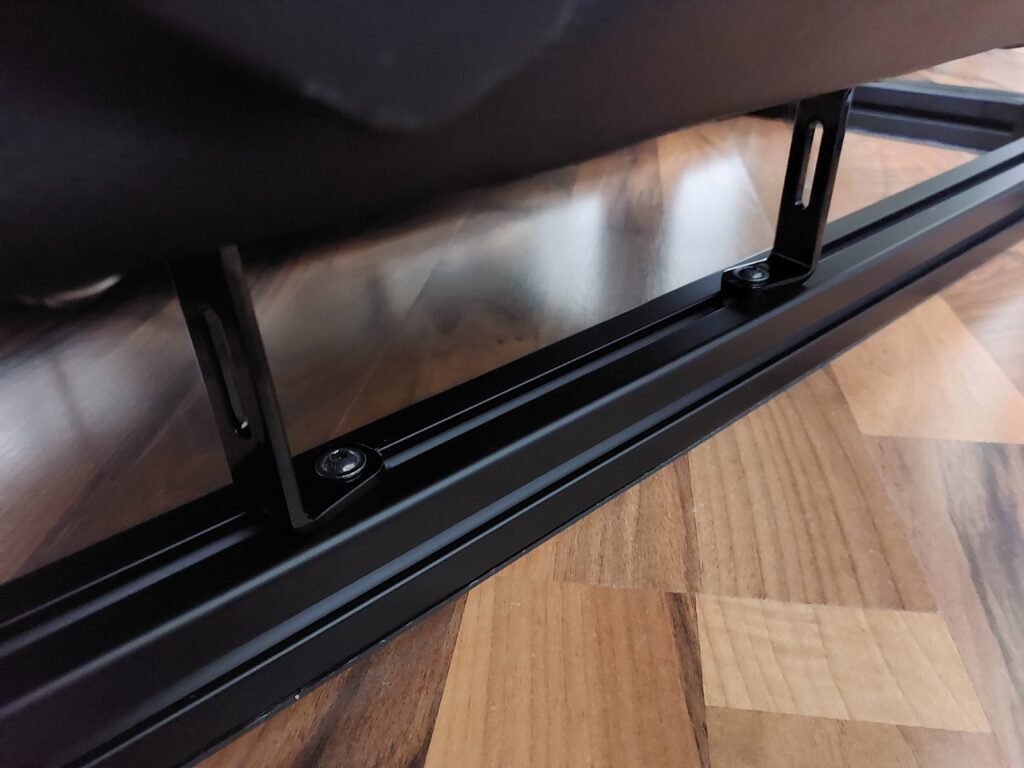
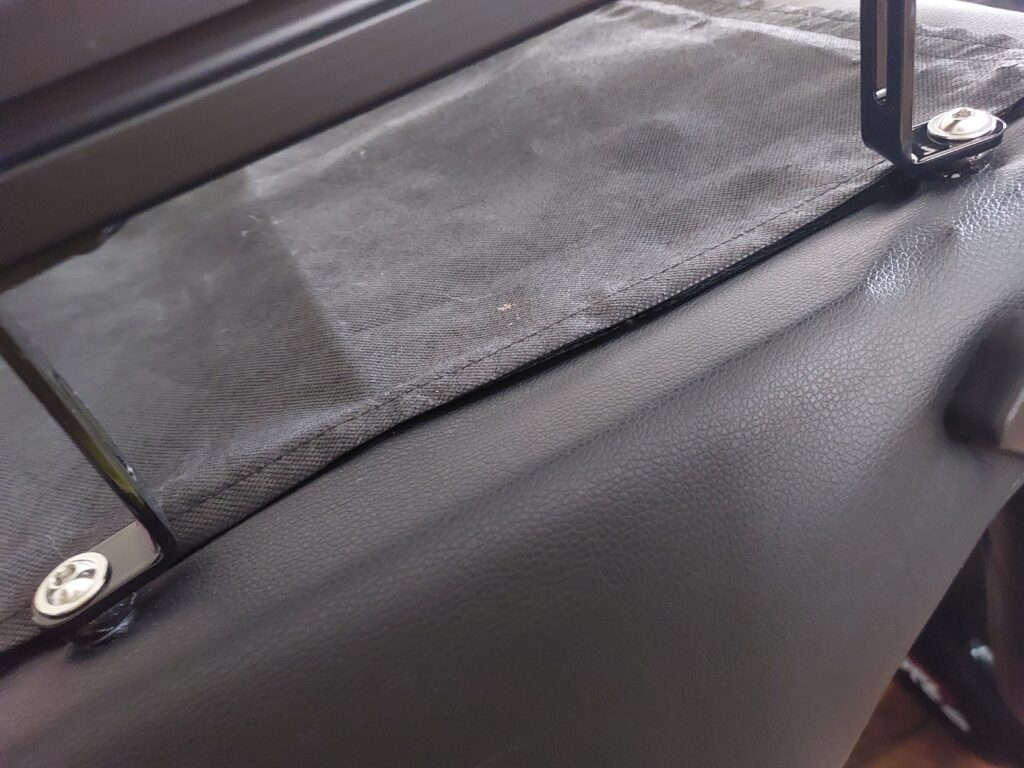
The seat is next. This rig design doesn’t need any additional extrusions to mount the seat and pedals. Instead, connect the seat adapters loosely to your seat, and position the seat on the extrusions. Loosely connect the other end of the adapters to the rig. Shift the seat in place so the angle of the adapters is mirrored both front-to-back, and left-to-right. Tighten the adapters to the profiles. Then, flip the rig upside down and tighten the adapters against the seat.
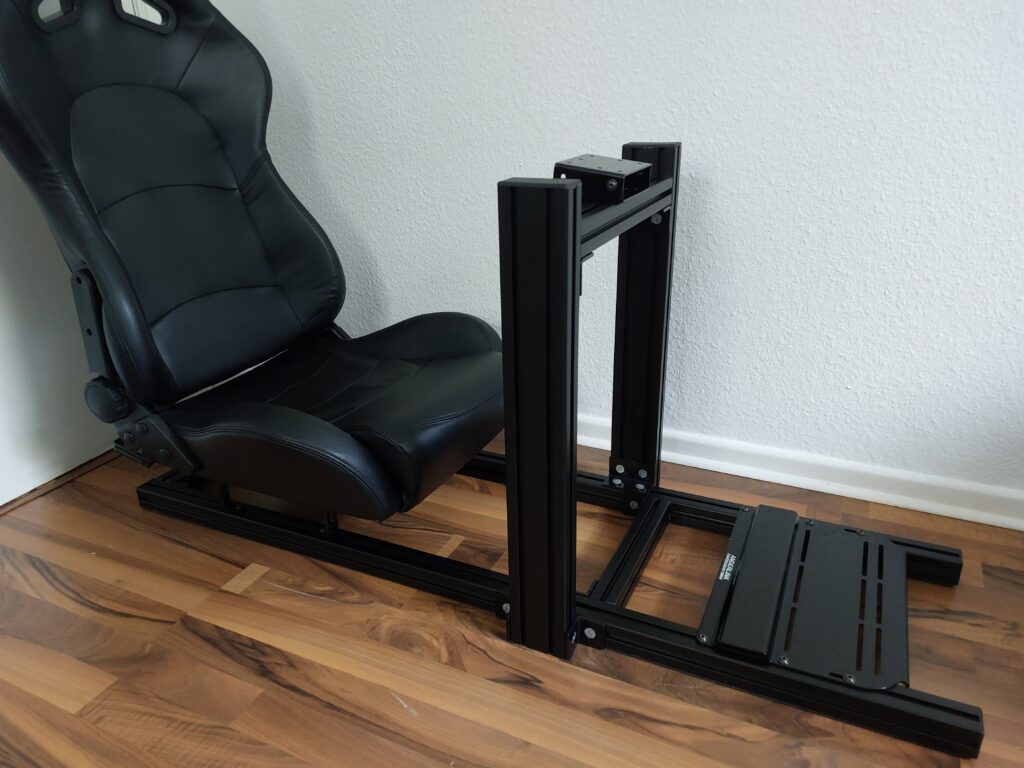
All that’s left is connecting your wheelbase adapter and pedal base plate to your simracing hardware, and to your rig. Make sure to follow the instructions on the respective product pages.
You’re done!